New Zealand: Climbing Mt Taranaki
Climbing up Mt Taranaki, a dormant volcano, is no walk in the park. So don’t let anyone tell you that getting up to the summit of Mt Taranaki (2,518m) is easy. From the Egmont National Park Visitors Centre, it’s a challenging climb of around 1,600m to the top.
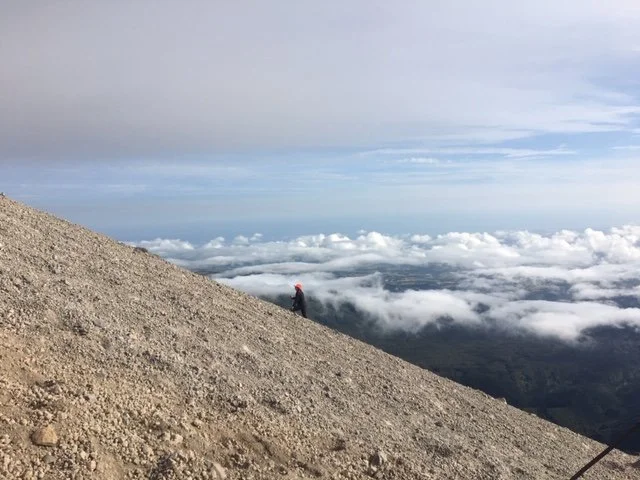
Above the clouds on the steep slope of Mt Taranaki
In perfect weather, we climbed up Mt Taranaki in mid February. To provide enough daylight hours to summit and get back down safely, we started around 6am in darkness. Then, descending back down, we reached the Visitors Centre around dusk. This day, there were quite a few people heading up so it was nice to have company, including Emma’s family and exchange students from Germany.
The Route
Starting from the Egmont Visitors Centre, the route is around 12.6km return. We allowed for at least 10-12 hours, though it took us around 14 hours in the end. Emma’s nephew, some 2m tall, bounded up and back much faster! We were equally impressed with Emma’s nearly-12 year old niece who summited, exclaiming at one point “I didn’t come all this way to give up now!”.
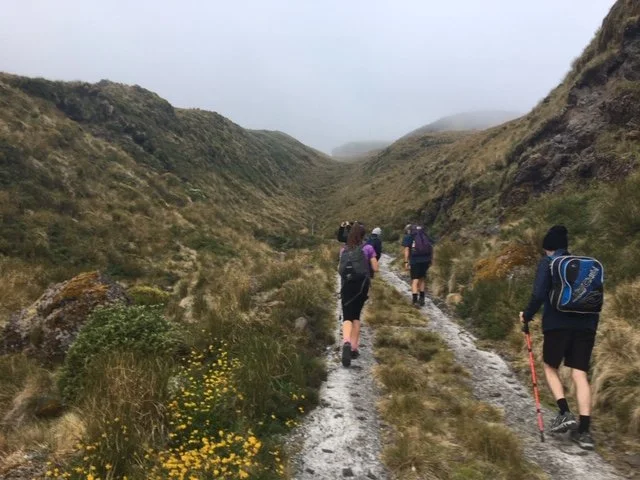
Heading up “The Puffer”
North Egmont Visitors Centre (946m) to Tahurangi Lodge (1,492m)
This is approximately 4km, around 1 .5 to 2 hours.
We took the Summit Track which starts on a boardwalk. Reaching a locked gate, we were able to enter through the turnstile. We continued up the steep and corrugated service road, known by locals as “The Puffer”. This took us to the privately owned Tahurangi Lodge, part of the Taranaki Alpine Club.
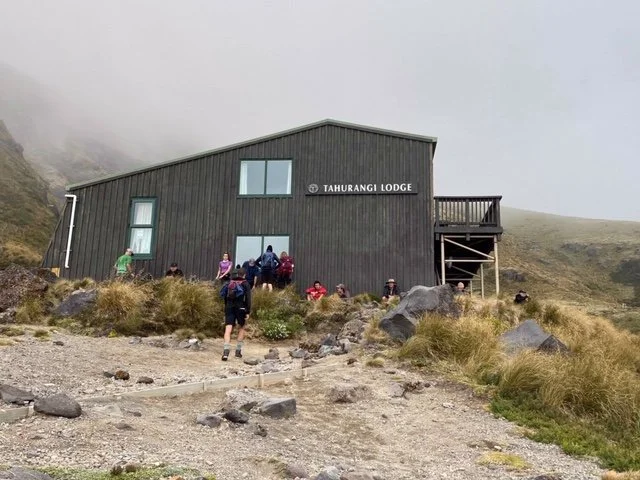
Good stop for a breather at Tahurangi Lodge
A public toilet is located 100m below the lodge. Note, this is the only available toilet on the way up to the summit.
Tahurangi Lodge to the summit (2,518m)
This section is 2.3km, around 3-4 hours. It is also the hardest part.
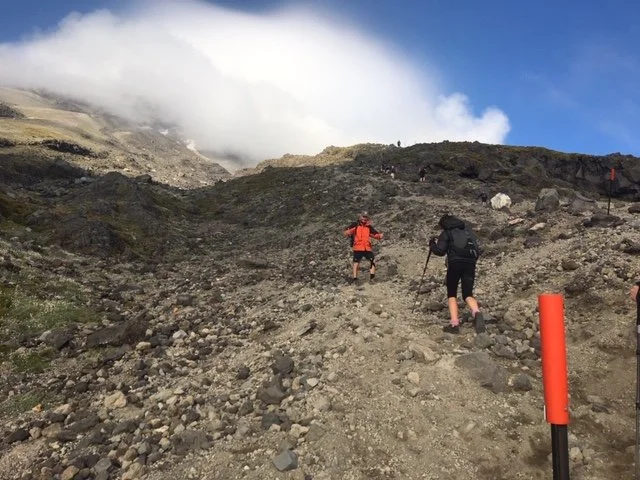
Passing the Tahurangi Lodge, the track continued upwards through a rocky valley. Orange poles showed where the route led all the way to the top. There were also helpful signposts at key points to help you decide whether it was safe to continue on.
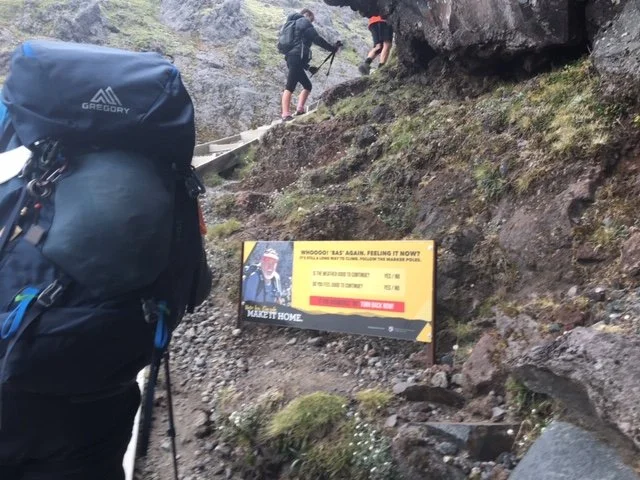
One of the useful yellow safety signposts at the bottom of the stairs
From the valley, a wooden staircase led us up to the next section – a steep scree slope! This where you practice the old ‘one step forward, two steps back routine’. Using trekking poles on this section definitely assisted us.
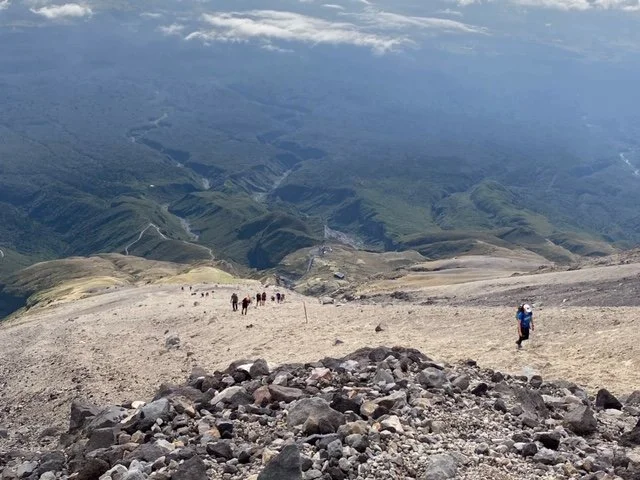
Coming up the long scree slope
Having congratulated ourselves on climbing the scree slope (2,134m), we were presented with the next challenge – the “Lizard”. This is 300m of steep rock which you scramble up to the crater’s entrance. We had to take special care at the top. The rock face narrows as you come around the corner and down into the crater.
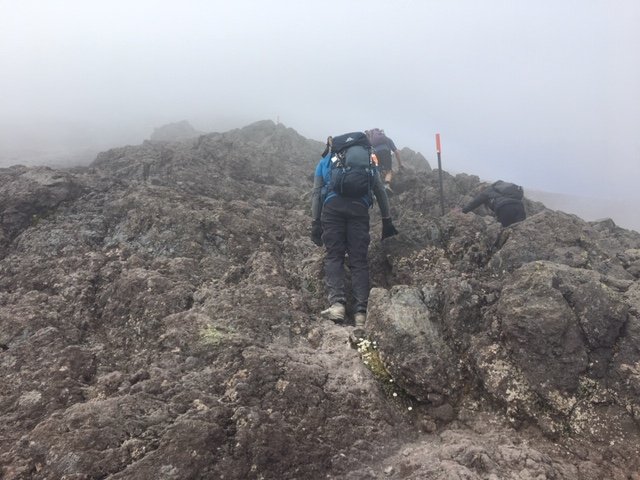
Scrambling up the “Lizard”
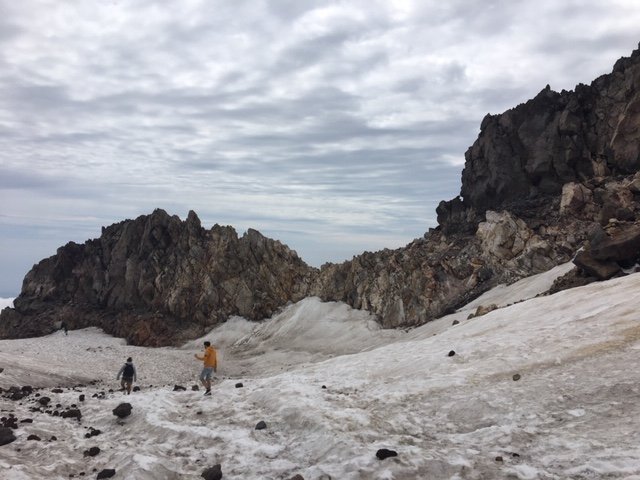
The route then took you across the crater and the final short climb up to the summit. We had soft snow in the crater to navigate so in the end, it was comfortable to cross though I can imagine that would turn to ice very easily in bad weather.
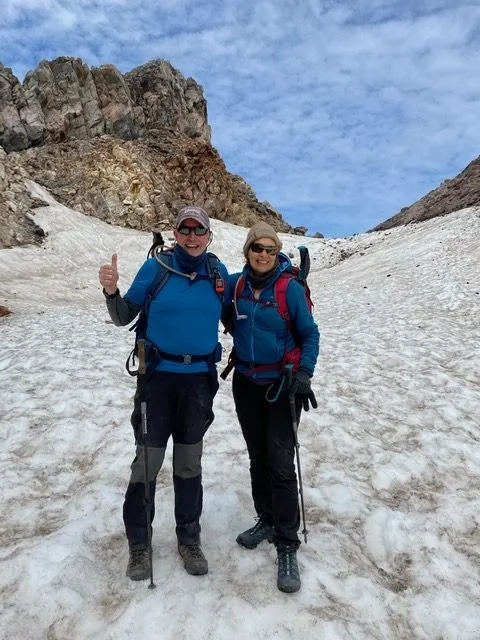
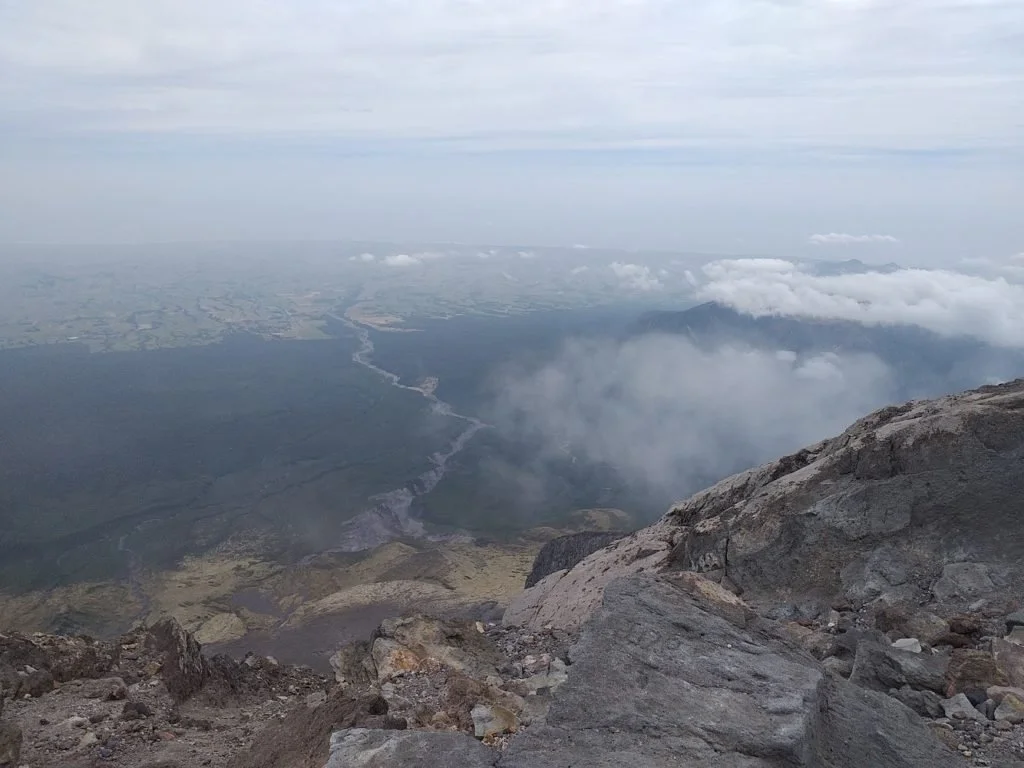
Now, to come back down (you’re only half way)
Believe it or not, you’ve done the relative easy part. This is now where you have to refocus as many accidents or falls happen on the descent. We saw a few on the way down. Take your time and come down the Lizard on your backside if you have to. I did and managed to get down safely, though at the end, I did have a few holes in my trousers where I slid down.
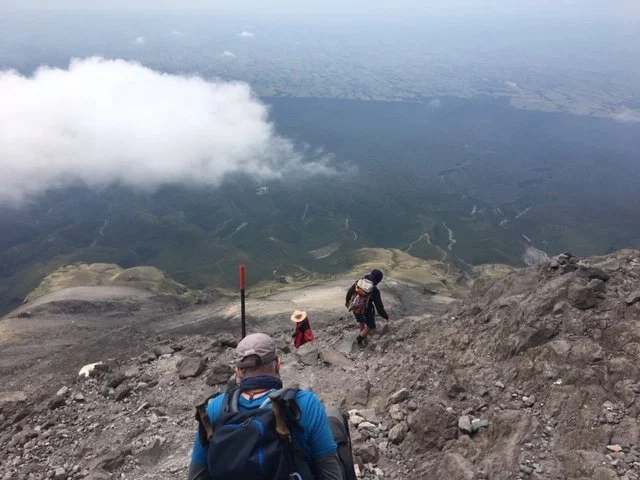
On the descent
Once you have descended the Lizard, you now need to navigate the scoria/scree. It’s much easier if you can find some deep stuff to dig your heels in and slide down. Some people prefer to just run down to keep momentum, but in any event do whatever you feel comfortable with. If you have hiking/trekking poles, use them.
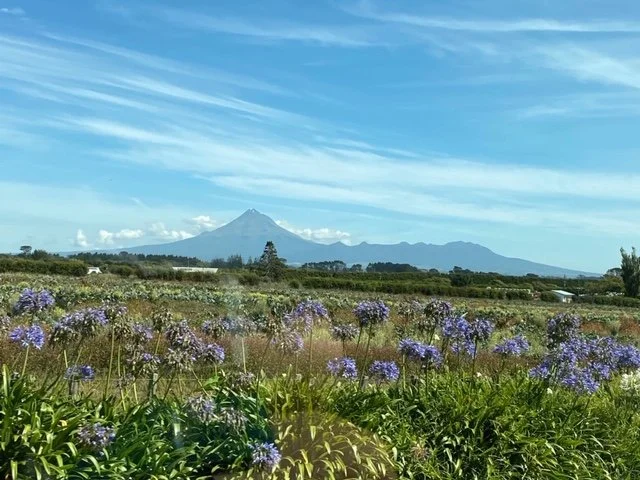
View of Mt Taranaki from a distance
And just when you think it’s all over – guess what? You have to navigate the stairs and then the Puffer. At this stage, your legs are tired but your mind is willing. The end is in sight, but it seems to take a long time to get there.
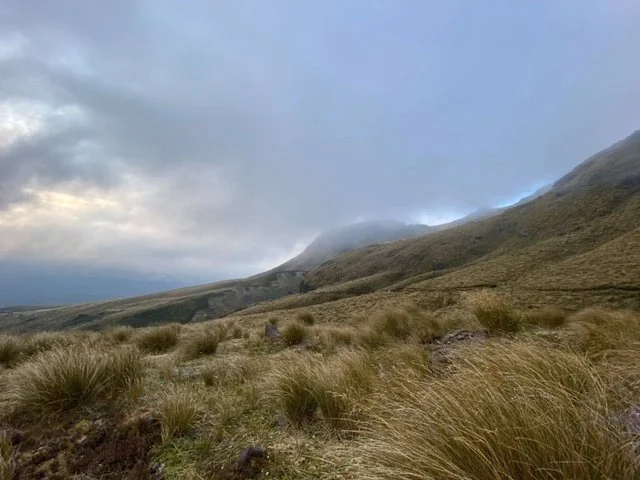
Lower slopes of the mountain
In completing the climb, we are now deemed by the locals as ‘Taranaki hard core’! A big thanks to Richard and family for taking us up.
Onwards and upwards!
Trevor
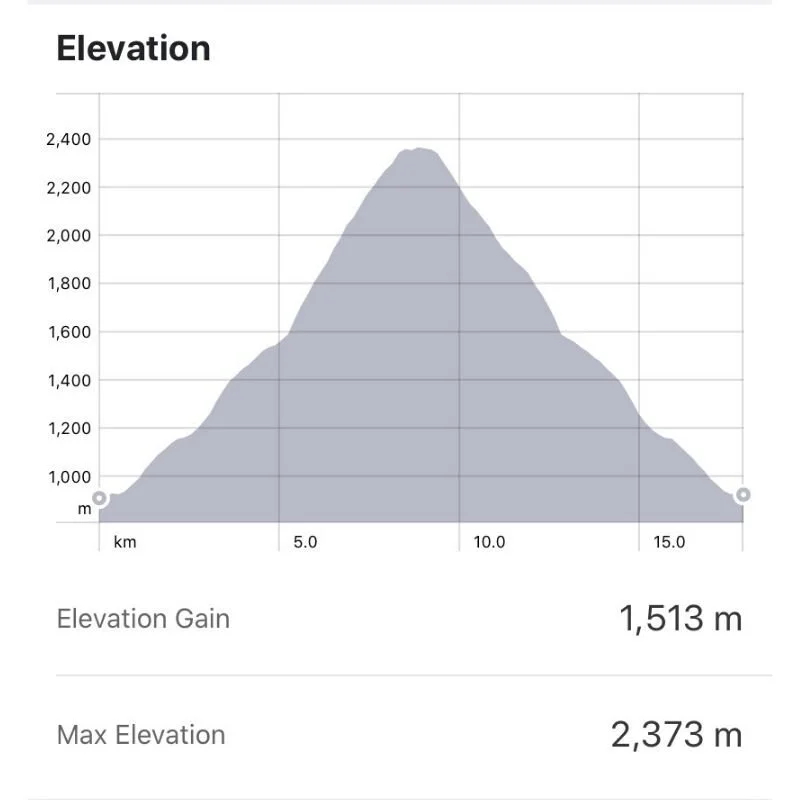
Elevation Profile to the crater – one tough climb!
Insights – Climbing Mt Taranaki
Climbing Mt Taranaki is very challenging. Allow plenty of time and leave early.
Sturdy hiking boots are best, especially for descending the scree slope.
There is no water available on the track. We took around 3 litres each in a bladder and used it all up.
If the weather deteriorates, turn back. Cloud can descend at any time making it difficult to see the route.
Above Tahurangi Lodge, numbered orange marker poles lead to the summit and give you an indication of how far you have to go as well as keep you on course. Count them on the way down – it’s fun.
Check the Egmont National Park weather forecast before you go.
You might also like to read our previous post on hiking one of the trails around Mt Taranaki.
The best time to climb Mt Taranaki is from February to mid-April when the slopes are bare of snow, though ice remains year round in the crater. And, don’t forget to sign the trip intentions book at the Egmont Visitors Centre.